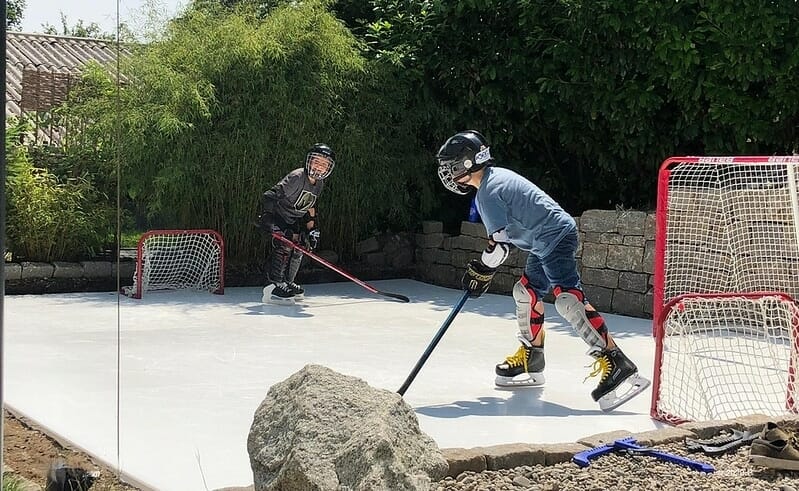
Are you an ice enthusiast tired of having to switch to roller skates once summer comes around or simply not getting enough ice time? Are you looking for a fun activity that you can enjoy all year long? With our synthetic ice panels, you can create your DIY backyard ice rink, so you can skate on ice even in the hottest months. Let’s dive into this step-by-step guide that will show you how to make an ice skating rink that will provide hours of icy fun.
Build your DIY Backyard Ice Rink
Choose the build path that fits your climate, site, and budget. Option A uses water and sustained freezing weather to create a naturally frozen rink. Option B uses synthetic ice panels on a flat prepared base, so the rink can be used year-round without water or refrigeration.
Option A: Build a naturally frozen rink
Step 1: Gather the Materials
To begin your backyard ice rink project, gather the essential materials. For a naturally frozen rink, you'll need boards, bracings, a tarp, and a substantial water supply. If you plan to build on grass rather than concrete, the tarp is crucial to protect the grass beneath. Customize boards from wood or opt for the convenience of an ice rink kit; the choice is yours!
Step 2: Set Up Your Rink
Lay the groundwork for your ice rink by arranging the boards to form the outline. Create a sturdy structure using bracings to ensure stability. Once your rink's foundation is in place, carefully lay the plastic liner on the ground, preparing it for the upcoming water application.
Step 3: Add Water
Now it's time to wait. For the optimal surface, wait for the right weather conditions. You'll need consecutive days of double-digit minus temperatures and a snow-free environment. Once these conditions align, it's time to fill your rink with water. Watch as the water transforms into a frozen wonderland, ready for hours of skating fun!
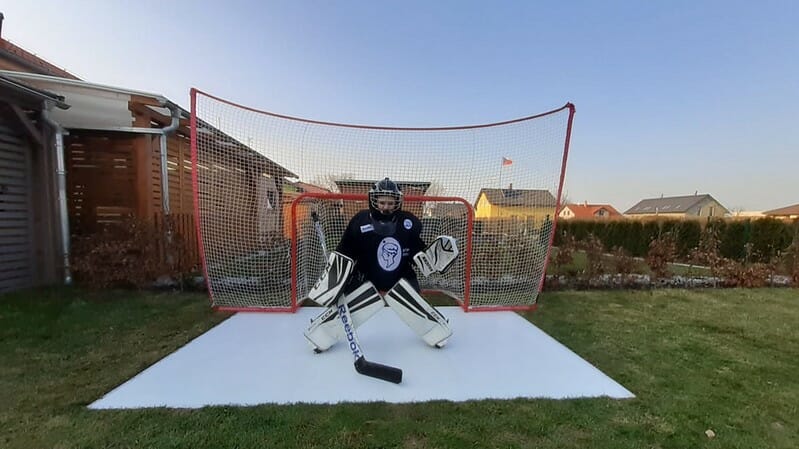
Option B: Install a synthetic ice rink
A refrigerated backyard rink can provide natural ice, but it requires substantial water and electricity and can be costly to operate. As winters become less consistently cold, the outdoor skating season can also be short.
That’s what Glice synthetic ice is here for. We provide solutions for commercial rinks and for skaters who want to practice at home. Here, we focus on the steps for a DIY backyard installation. If you are interested in installing a larger rink, find out what to consider here.
Install the synthetic ice panels
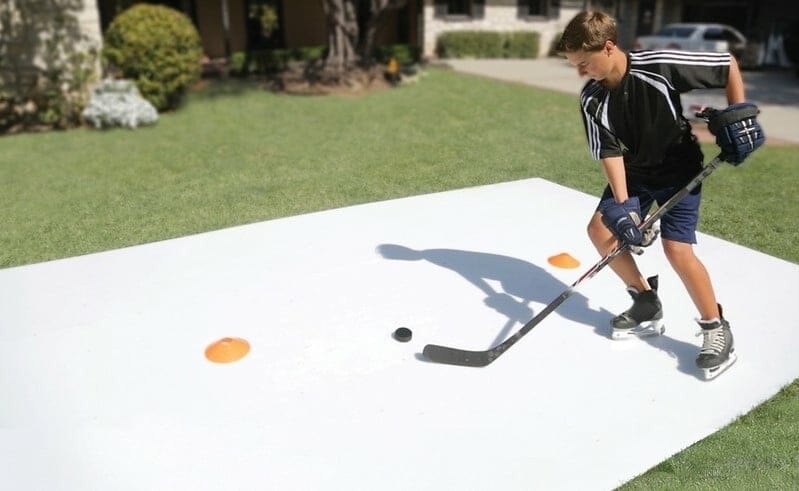
How do you create your backyard rink? First things first, you need to find the perfect spot for your icy oasis. Look for a flat area, for example, in your backyard or garage, that's free from sharp objects or obstacles. Once you've got the location sorted, follow these simple steps:
- Planning and Preparation: Start by planning the size and location of your backyard ice skating rink. Consider the available space and ensure it’s flat and clear of any debris. With synthetic ice, you have the flexibility to customize the dimensions to fit your yard.
Choose the Right Eco Ice Panels: We produce two kinds of panels: larger ones for commercial use and our Glice home panels. Both are high-quality synthetic ice panels that are durable, easy to install, and provide an authentic skating experience. Measure the area of your planned rink and order the required number of panels accordingly. In our online store, you can enter the dimensions of your area and get an instant quote for your project.
- Prepare the Ground: Ensure that the ground is level and free from any debris. The panels can be laid directly on a flat surface, such as concrete or compacted gravel. If necessary, use a level and a rake to smooth out the ground before laying the panels.
Install the Synthetic Ice Panels: Begin by laying the first panel in a corner of your designated area. Connect the next panel to the first one using the interlocking system provided by the synthetic ice panels. Repeat this process until you have covered the entire area. Trim any excess panels to fit the remaining space. Also, check out our extended panel installation guide!
- Enjoy Your Homemade Ice Rink: Once the panels are securely installed, it's time to lace up your skates and enjoy your DIY backyard ice rink! Whether you're practicing your skating skills, playing hockey, or simply having fun with friends and family, your homemade ice rink will provide endless hours of enjoyment.
Remember to keep your panels clean. Ensure they are always free from dirt or debris before you start skating again.
Backyard Ice Rinks in Action
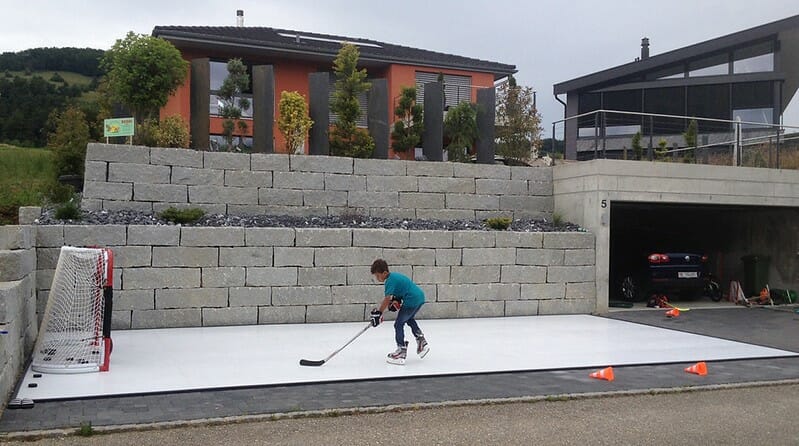
Some images sometimes say more than words. Have a look at this amazing home rink we installed in Switzerland so that these two boys could have their hockey sessions at home:
Free Planning Guide
Get The Complete Rink Planner.
Everything you need to evaluate, plan, and launch a synthetic ice rink - in one document.
- Site requirements and Planning Checklist
- Six financing paths, including grants and sponsorship
- How to test, compare, and choose any provider


Conclusion:
Creating a backyard ice skating rink using synthetic ice is a fantastic way to bring the thrill of ice skating to your home. With careful planning, high-quality synthetic ice panels, and proper installation, you can enjoy a durable and realistic ice skating experience all year round. So, gather your materials, follow the steps outlined in this guide, and get ready to embrace the joy of skating in your very own homemade ice rink. Start building, and let the icy adventures begin!
Frequently asked questions
How do you build a DIY backyard ice rink?
Choose a flat, clear location and then follow one of two paths. For a naturally frozen rink, brace the perimeter, install a liner, add water, and wait for sustained freezing weather. For a synthetic rink, level the base, plan the dimensions, connect the panels according to the installation instructions, and keep the finished surface clean.
What materials do I need for a backyard ice rink?
A naturally frozen rink needs perimeter boards, bracing, a suitable liner or tarp, a level area, water, and sustained freezing temperatures. A synthetic rink needs a flat prepared base, the correctly sized interlocking panels, the specified installation tools, and cleaning equipment.