You might be here because you are considering purchasing a Glice synthetic ice rink or because you have recently acquired one. Either way, you are now just a few simple steps away from enjoying long-lasting ice skating fun. Fortunately, you can complete the installation process quickly and efficiently with just a little bit of effort, as opposed to a refrigerated ice rink. Follow these straightforward steps, on how to install a synthetic skating rink and your skating experience will be waiting in no time! We also highly recommend you sign up on our online platform Glice Academy for even more detailed instructions, including videos and troubleshooting tips.
Before you start
-
Before you start
Choose the right location:
To have a successful skating experience, you want to look for a flat and clean surface, free of debris and water. The area should be big enough to accommodate the synthetic ice rink size you chose. Measure twice, cut once!Ensure you have all the materials:
Besides the synthetic ice tiles, consider purchasing a subfloor, which can be rubber, thin foam, or wood floor. Larger ice rinks should be accompanied and put in place by dasher boards to ensure a safe ice skating experience. For home synthetic ice rinks, we offer mini boards.
Prepare the area:
Once you have your Eco Ice tiles, it's time to prepare the area where you'll be installing the ice rink. Clean the area from any debris, and if you are installing an outdoor rink, make sure to level the ground and create a sturdy foundation.Install the synthetic ice panels:
Follow our instructions, adapted to home rinks or larger synthetic ice rinks for the correct installation. Be sure to double-check that the synthetic ice panels are level to avoid any unevenness in the rink.
Free Planning Guide
Get The Complete Rink Planner.
Everything you need to evaluate, plan, and launch a synthetic ice rink - in one document.
- Site requirements and Planning Checklist
- Six financing paths, including grants and sponsorship
- How to test, compare, and choose any provider

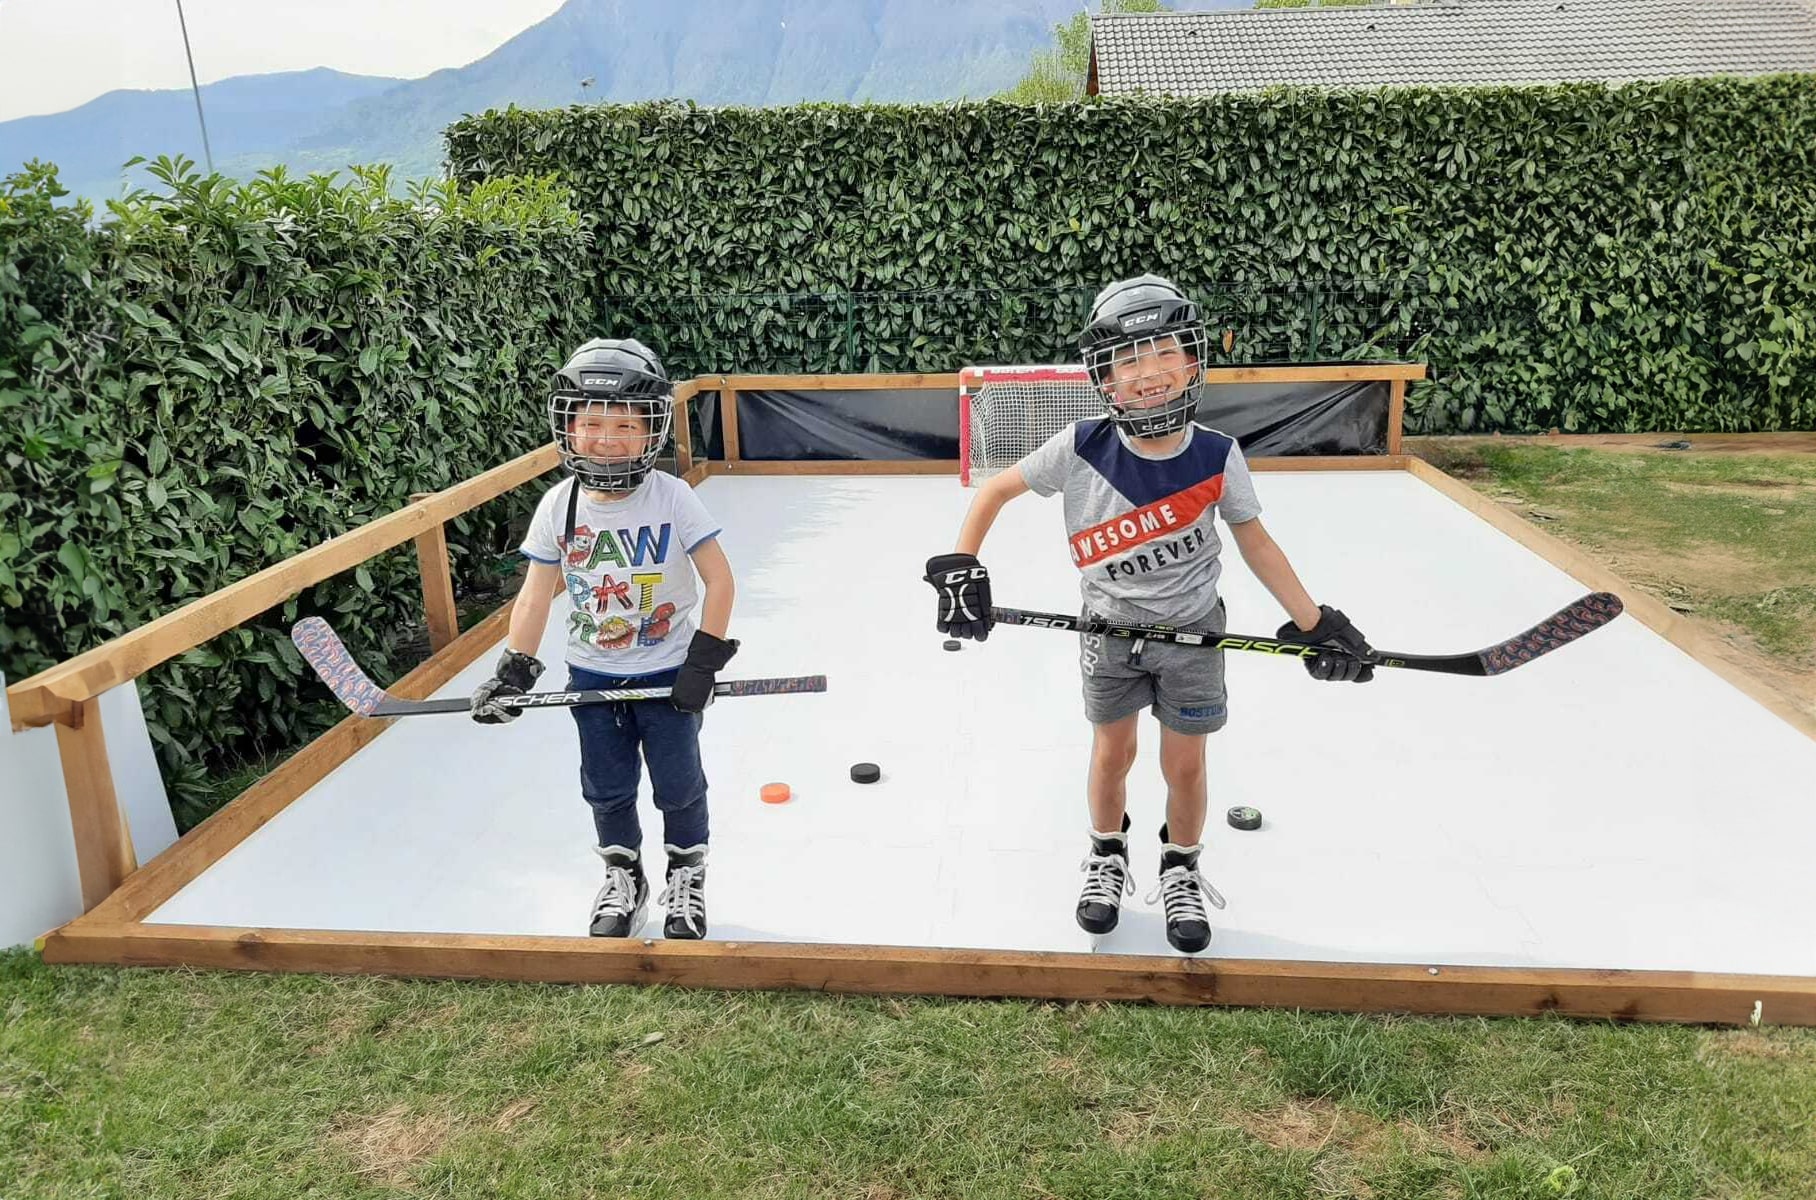
How to install a synthetic skating rink: Home rink installation (10 mm Smart-Lock Panel)
For a small rink, we have created our specific synthetic ice panels for home use. They are a great opportunity for hockey players and figure skaters to practice their skills without having to wait for real ice. The synthetic ice surface is just as smooth and easy to work with and can even be adapted to a limited space.

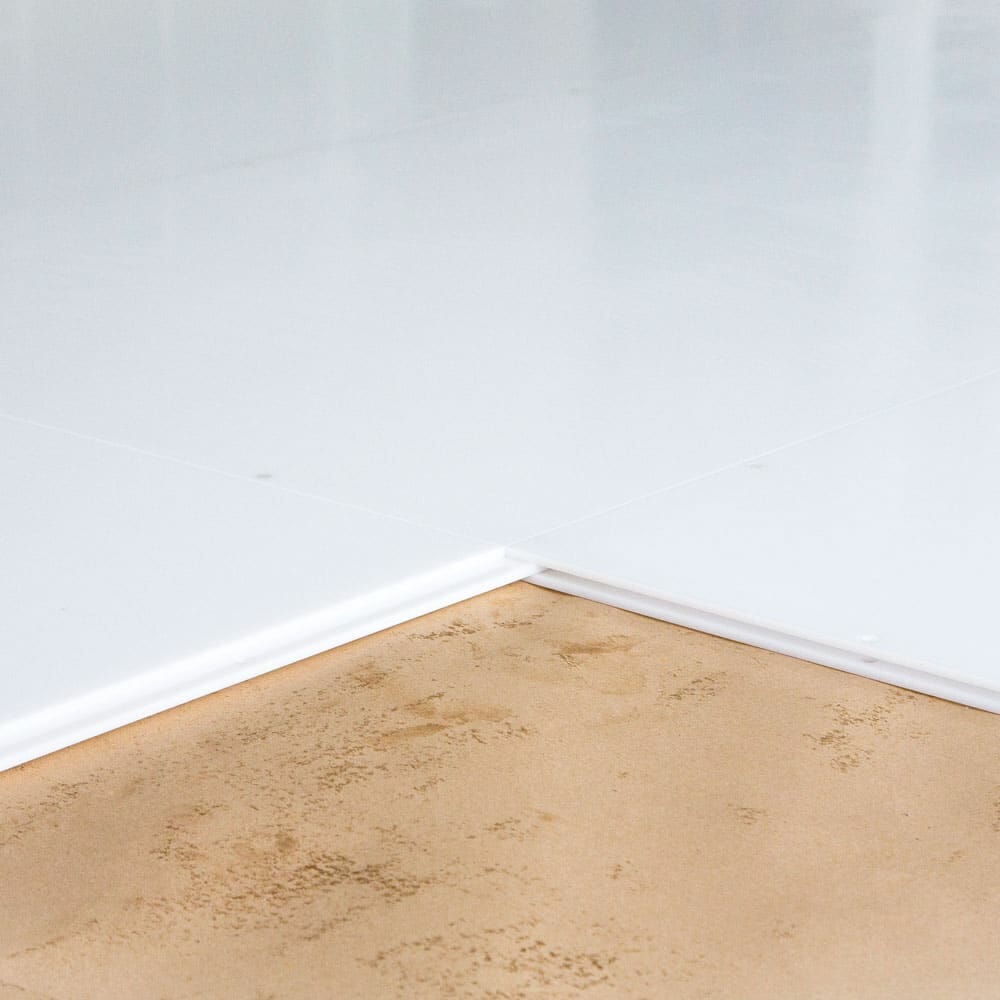
- To ensure a quick installation of your synthetic ice rink, begin by removing the panels from the box and ensuring that they are oriented in the same direction.
- If you place synthetic ice tiles on irregular or abrasive surfaces, we recommend placing a protective underlay material, such as foam flooring underlayment, to prevent damage to the flooring and underside of the sheets. Do not install the skating area on unstable or irregular surfaces, such as grass or thick carpet, to ensure maximum stability and safety.
- Before beginning the installation process of your synthetic ice rink, establish the perimeter of the skating area by using tape or line. When laying down the synthetic ice panels, we recommend starting with one row first. Start at the center of the panel connection, and work outward to the edges. The ice panels will positively lock together for maximum stability.
- Once you installed the first row of synthetic ice panels, add another row and check alignment and positioning as you go. Repeat steps 3 and 4 until the entire skating area is complete.
See how easy it is and start ice skating now:
Disassembly
To disconnect synthetic ice panels, lift an outside corner of the panel you want to remove and gently tap the outer edges of the adjacent panels to free the first panel being lifted. Repeat the procedure row by row.
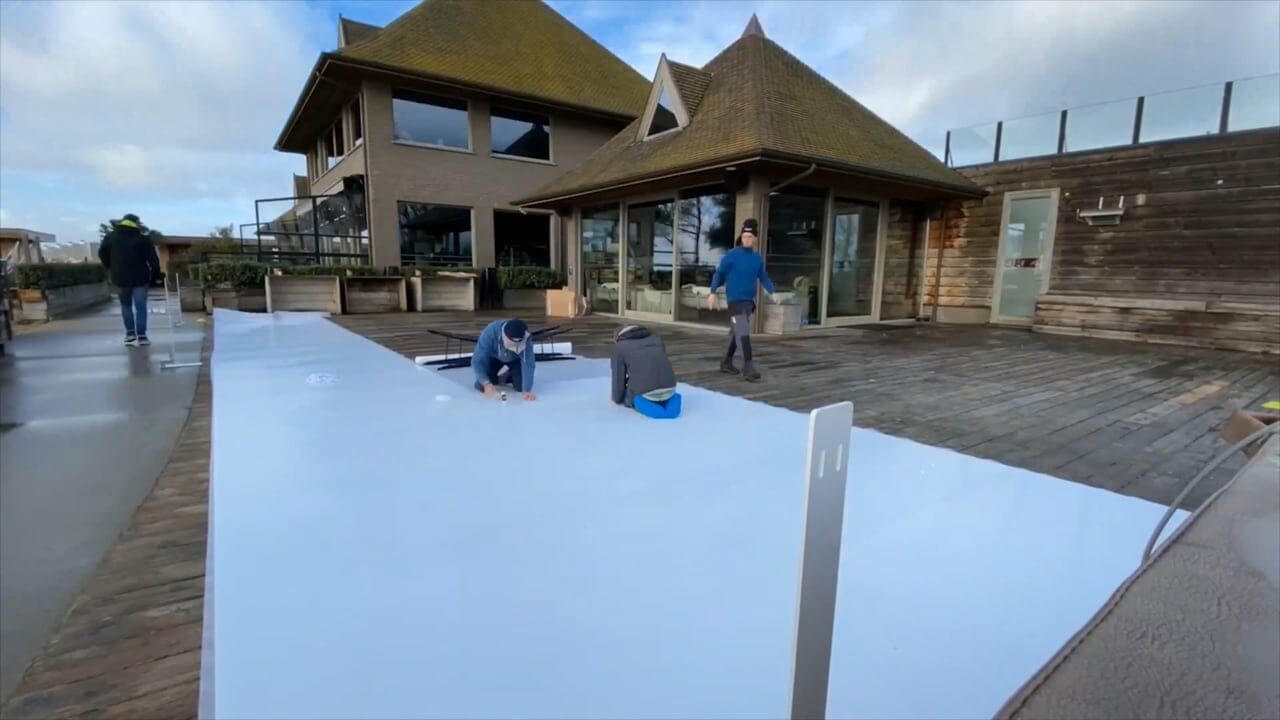
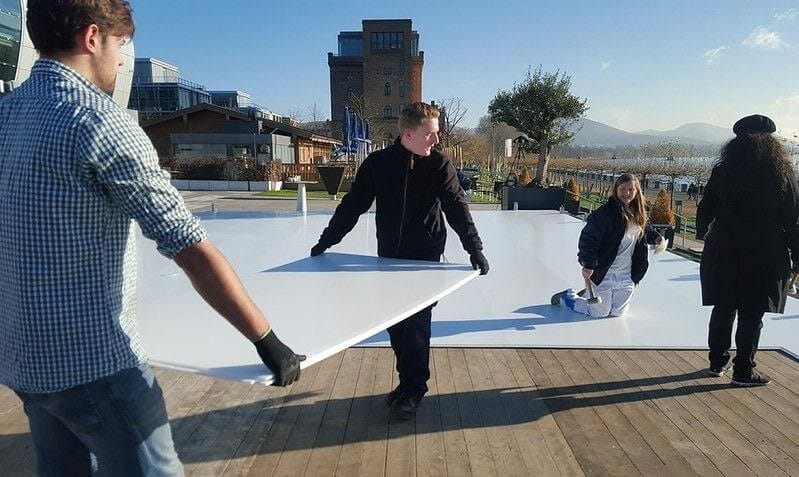
How to install a synthetic skating rink: Larger rink installations (13/20 mm Standard Panel)
These larger rinks can be set up for home use or as commercial ice rink installations for businesses or training facilities, serving as temporary or permanent installation.

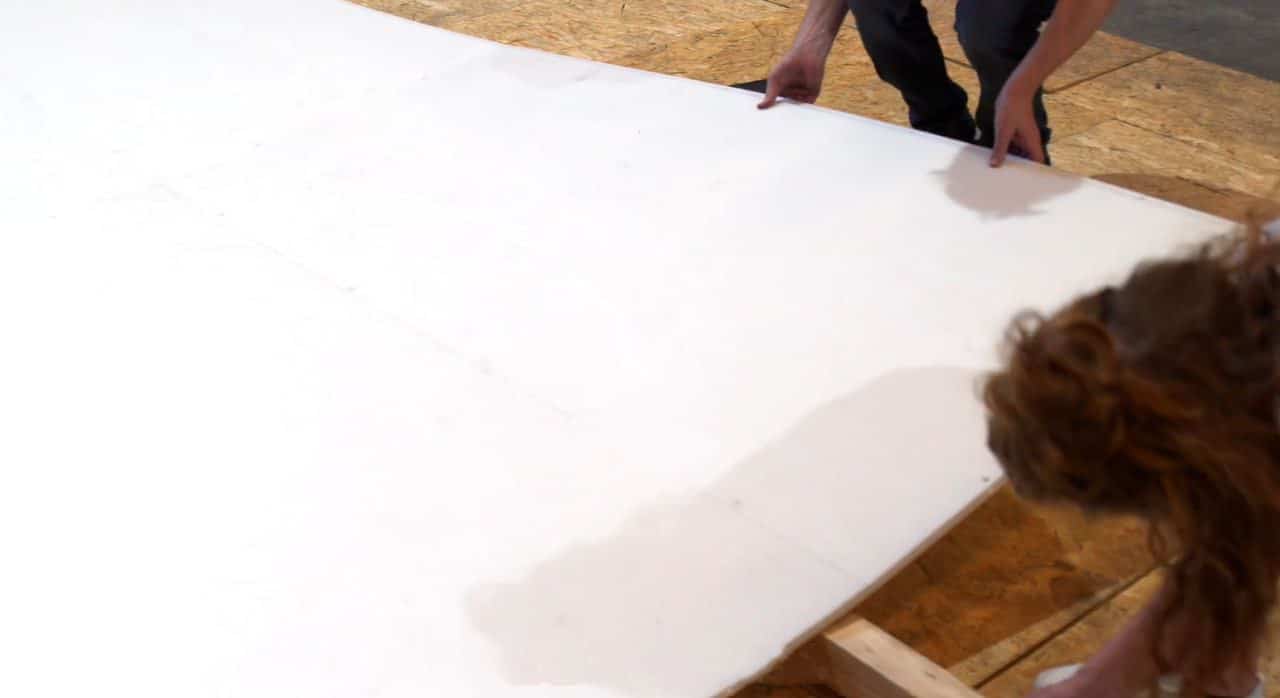
- Before beginning the synthetic ice installation, you must take certain steps to ensure maximum efficiency and safety. Start by removing all sheets from the pallets and inspecting the synthetic ice panels for any dirt or debris, particularly on the tongue and groove. It is essential to clean the panels before installation to avoid any distortion and guarantee a smooth skating experience. Want to know more about synthetic ice rink maintenance? Have a look at our blog post on the topic.
- If you place the synthetic ice panels on an irregular or abrasive surface,we recommend a protective underlay material to protect them from damage.
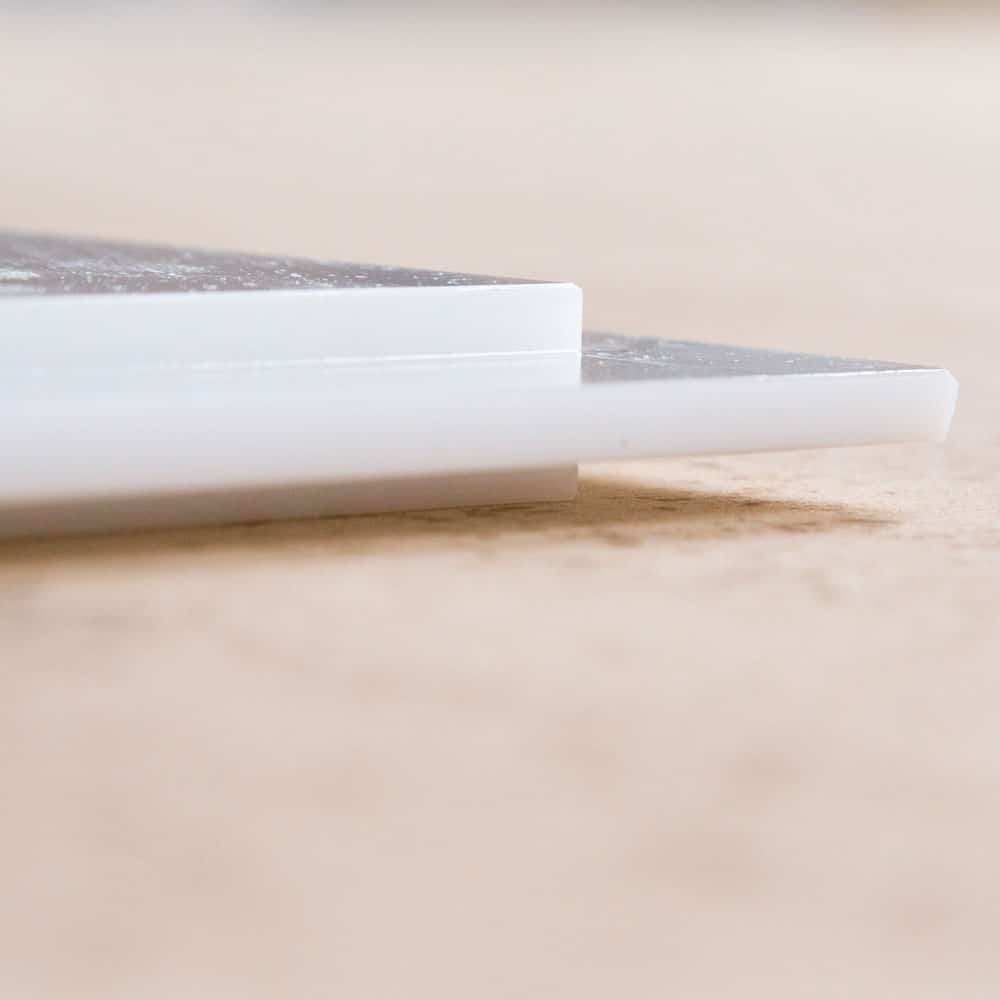
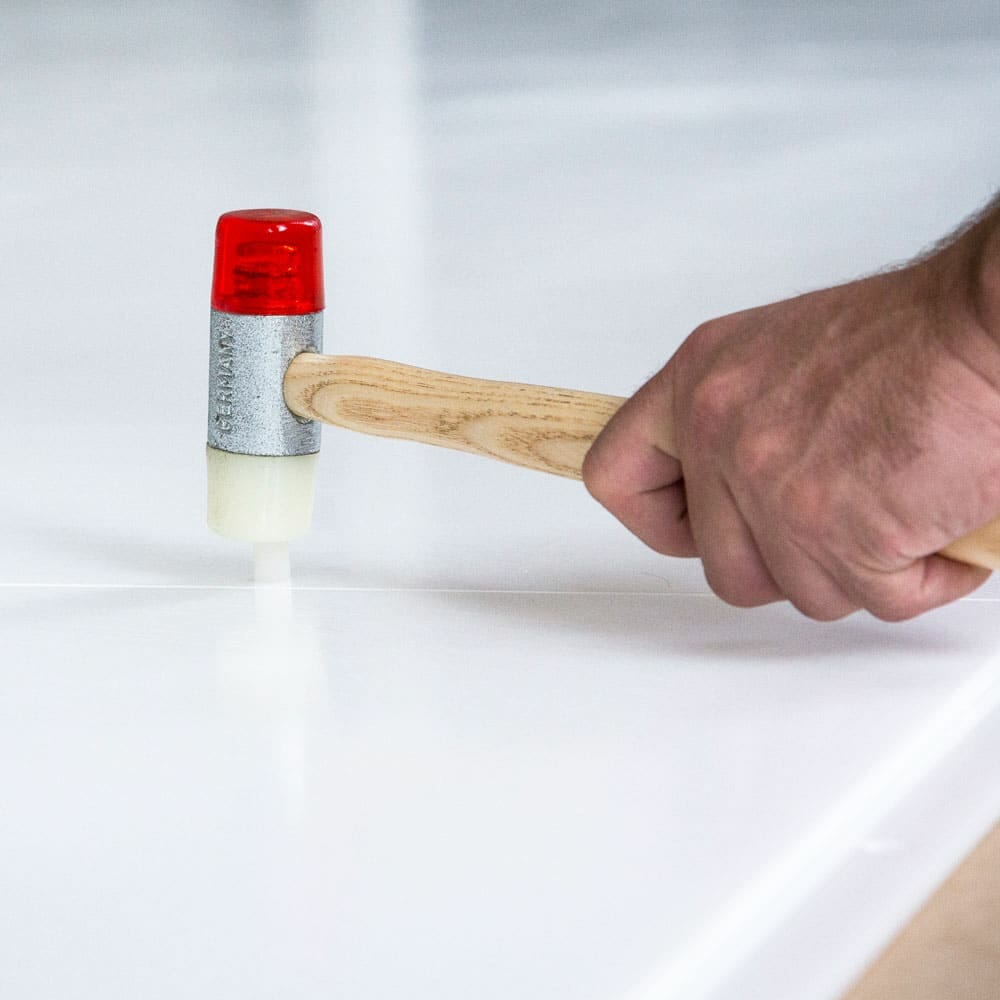
3. It is also important to establish the perimeter of the skating area before installation. Do this by using tape or a line to ensure a precise outline. To prepare the synthetic ice panels for installation, place them all on the surface for several hours before installation in the same conditions, whether it be in the shade or sunlight. 4. To start the installation process, lay down the synthetic ice panels in one row, ensuring that the tongue of one panel is inserted into the groove of the next. Make sure that all plug holes align - if they do not, utilize the Glice installation tool to fix the issue. Knock the plugs into all holes with the nylon hammer provided with the tool box, ensuring that the rounded bottom is down and that the flat tops of the plugs are flush with the surface. We suggest that you complete one row before taking a break to ensure proper alignment and stability. 5. To add another row of panels, check the alignment and position of each panel as you go along. Repeat this process until you have completed the entire skating area. See how you can set up complete synthetic ice rinks in just a few hours here:
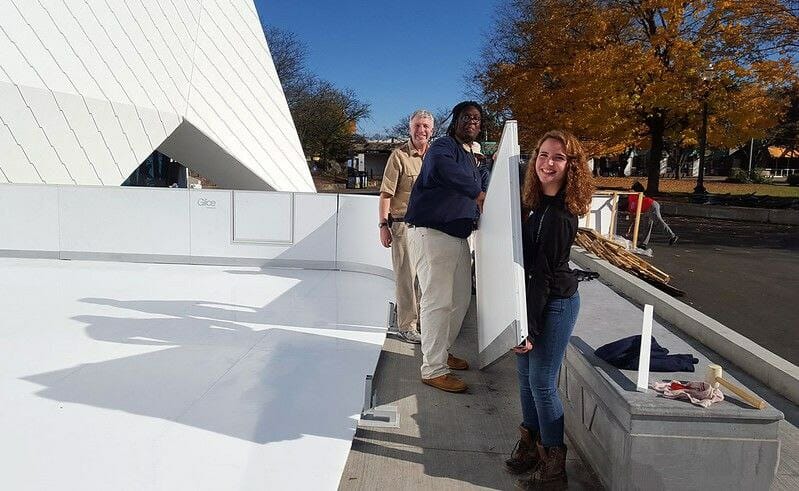
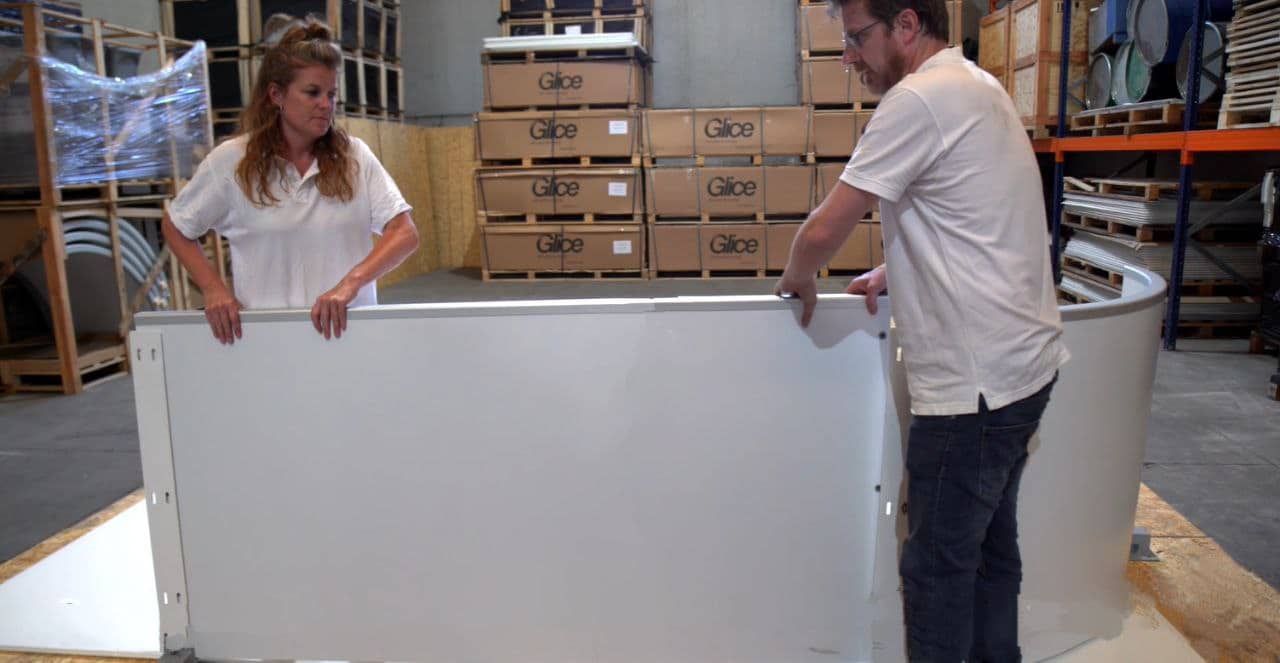
Dasher board installation
-
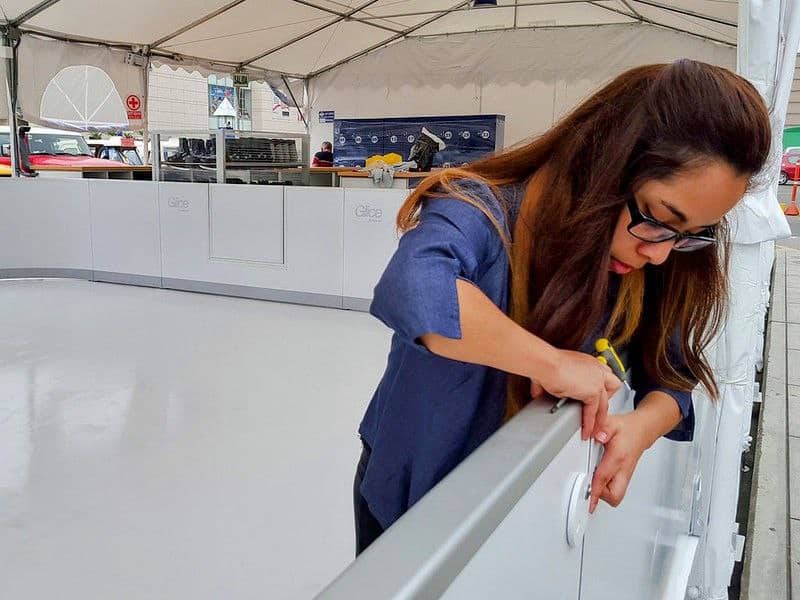
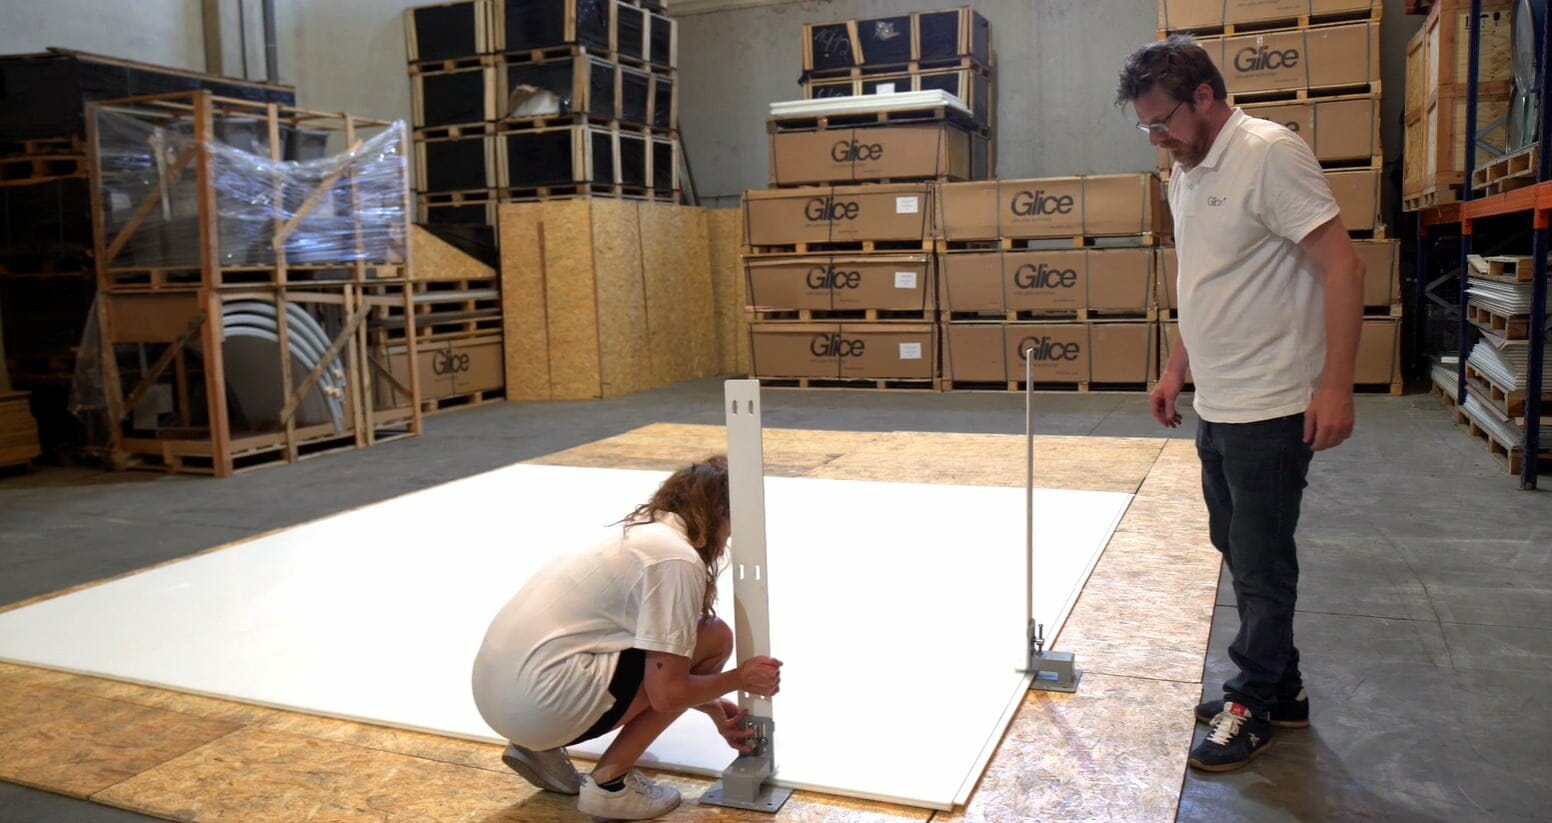
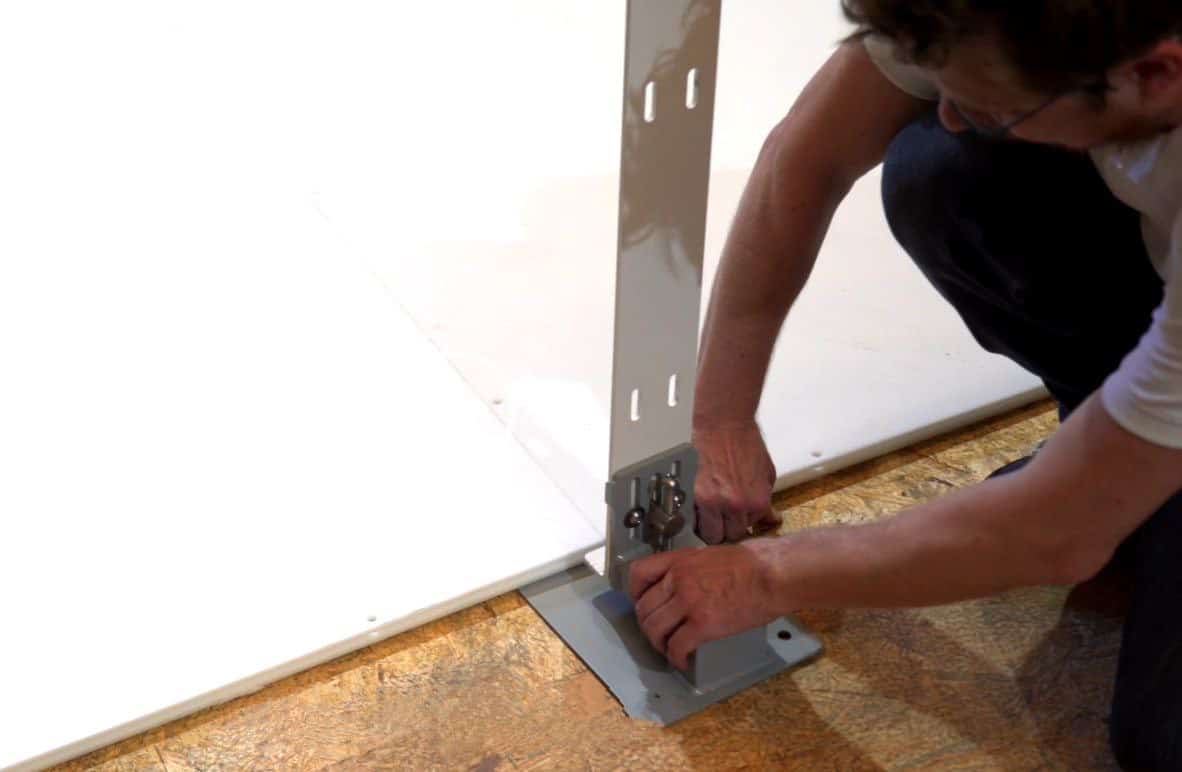
To begin the installation process, you must first place the feet on both sides of a corner. Once in place, position the curve module on top of the feet. To fix the module in place, use the tools provided while a second person holds the module steady.
2.
Next, it is time to place the next foot at a distance of 1.96 meters (6.4 feet). This step is crucial in ensuring that the dasher board remains stable and properly positioned. With the foot in place, it is now time to add the straight dasher board on top. Repeat these steps until all dasher boards are set up correctly around the synthetic ice rink.
Disassembly
-
Panels: To safely disconnect synthetic ice panels, begin by placing a wedge underneath the side of the panel. This will create a space under the panel and allow you to remove it with ease. Next, use the metal punch and nylon hammer supplied to knock the plugs out, starting from one end and working your way to the other. Be sure to retain the plugs, as they can
be reused for future installations. After removing the plugs, remove the wedge and carefully slide the panel away from any adjoining panels. It is essential to proceed carefully to prevent any damage to the surrounding area or neighboring panels. Repeat this process row by row until all synthetic ice panels have been safely disconnected.
-
Dasher boards: To begin the process, start by removing the screws that hold the dasher boards in place. Next, gather two people to remove the dasher board. One person should hold it from the inside, while the other person holds it from the outside. Make sure to proceed slowly and carefully to ensure that the dasher board is safely removed. After removing the dasher board, it is time to remove the foot. This step is essential to ensure that the dasher board modules are safely and efficiently dismantled. Once the foot has been removed, repeat the process with all of the remaining dasher board modules.
No need to worry about expensive costs or time-consuming setup and maintenance. Our synthetic ice rinks are the perfect fit for a range of settings, from backyard rinks to community spaces, making them much more versatile than natural ice. Whether you're a beginner, intermediate, or advanced skater, our synthetic ice rinks provide a seamless skating experience that's sure to put a smile on your face. And should you still have any questions about how to install a synthetic ice skating rink or any other topic regarding our Eco Ice rinks, we are here to help!
